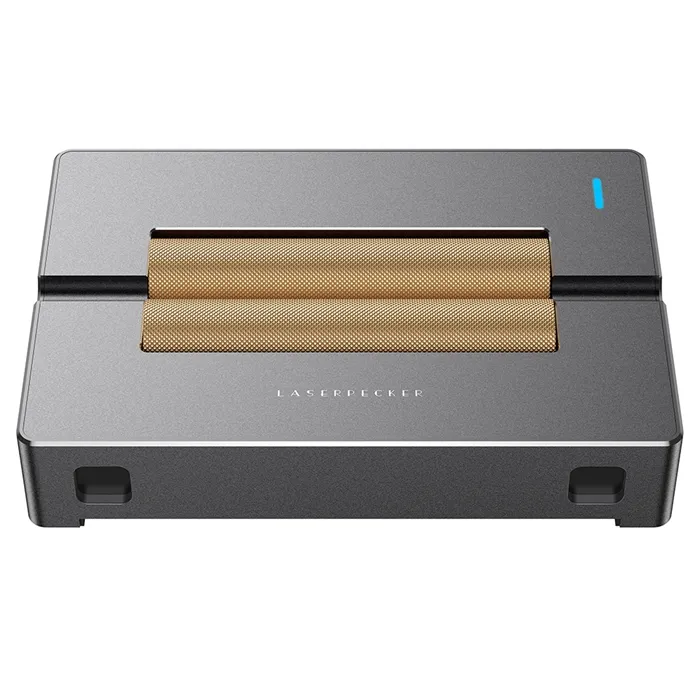
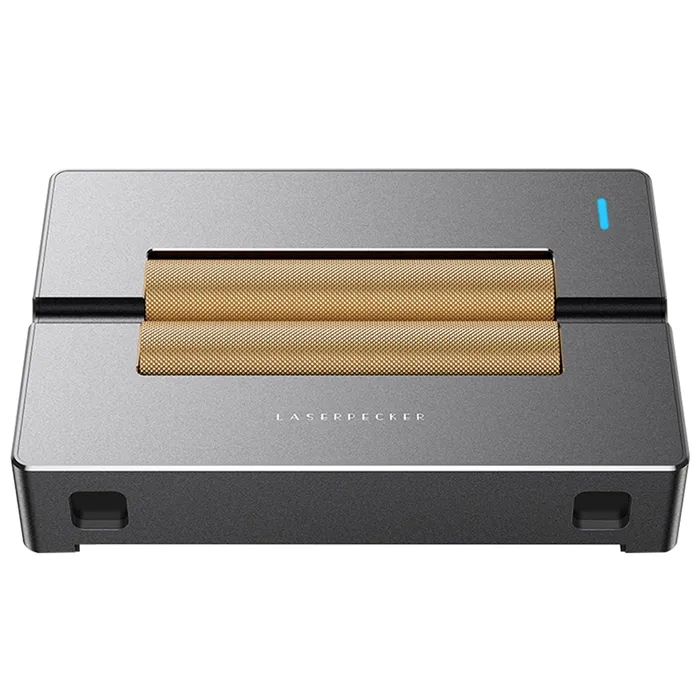
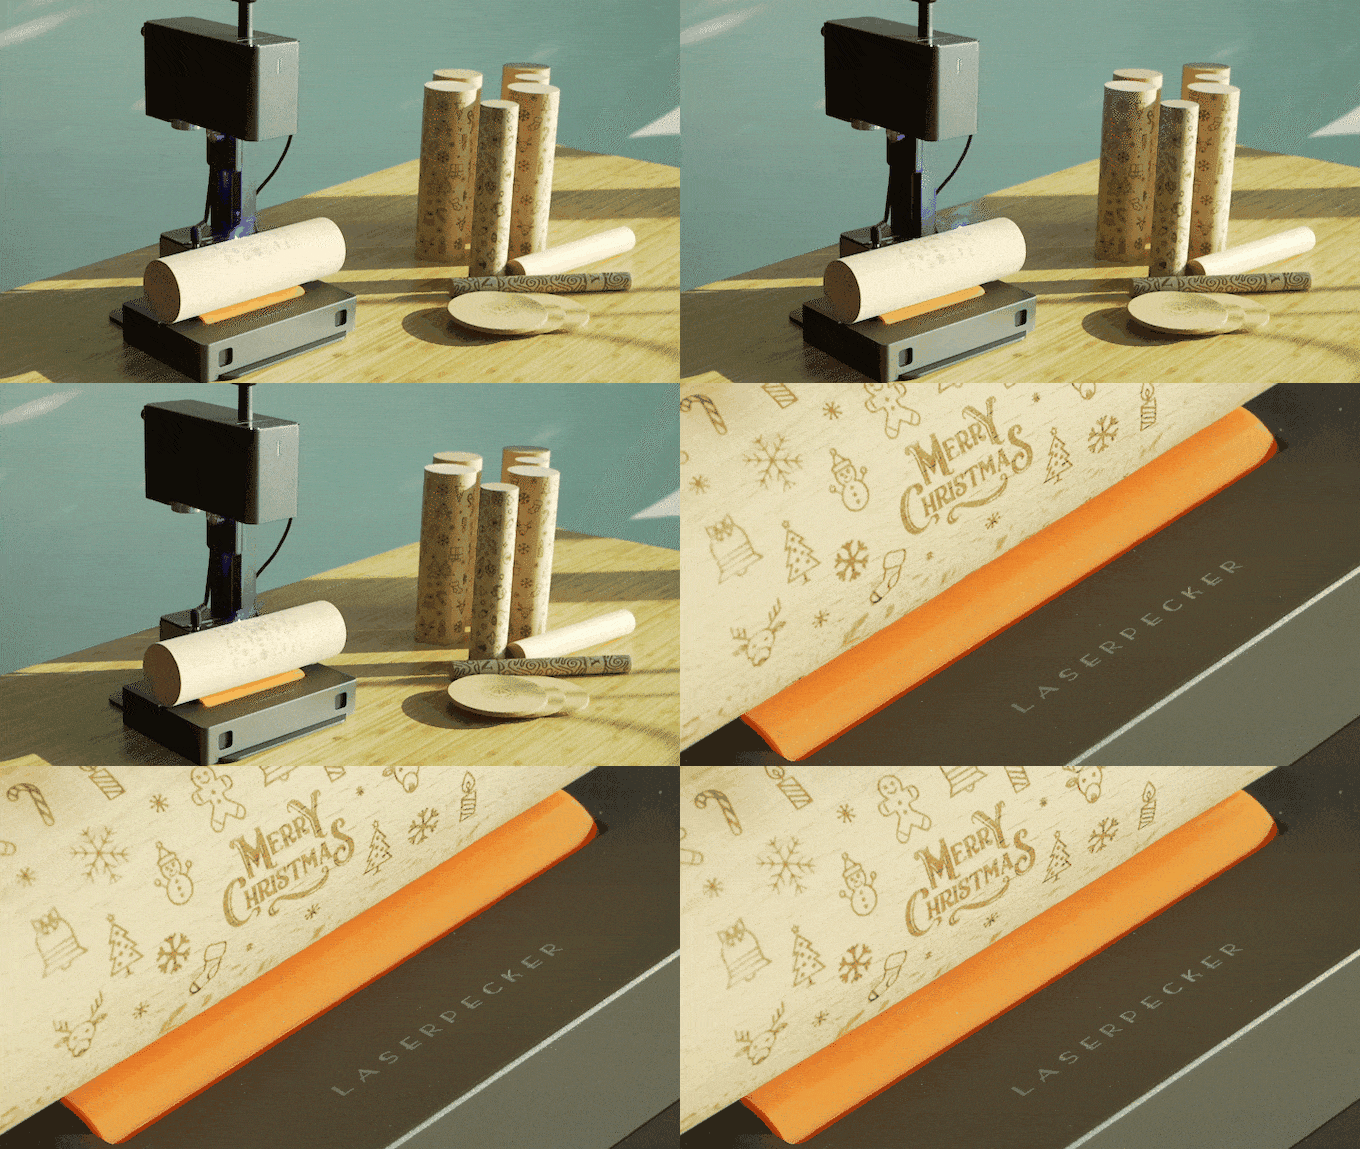
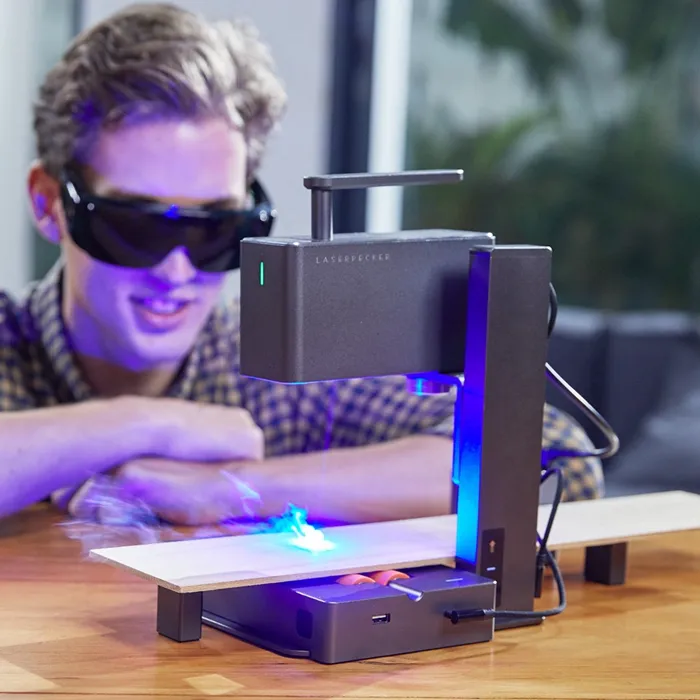





 Slab Mode:
  Trolly Mode:
Choose Trolly Mode on APP. Put the roller upside down, attach 2 sliding magnetic blocks to one side of it with all 4 small stainless balls face down. Take down the laser head from the electrical stand and assemble it to the roller using the C shaped mounting bracket.
In this way, LP2 looks like a small trolly. Put it on the engraving material, the focus distance is exactly 110mm. Then get ready for engraving.
(Max engraving area: 100mm*2,000mm-5,000mm, depending on the simplicity of the design)
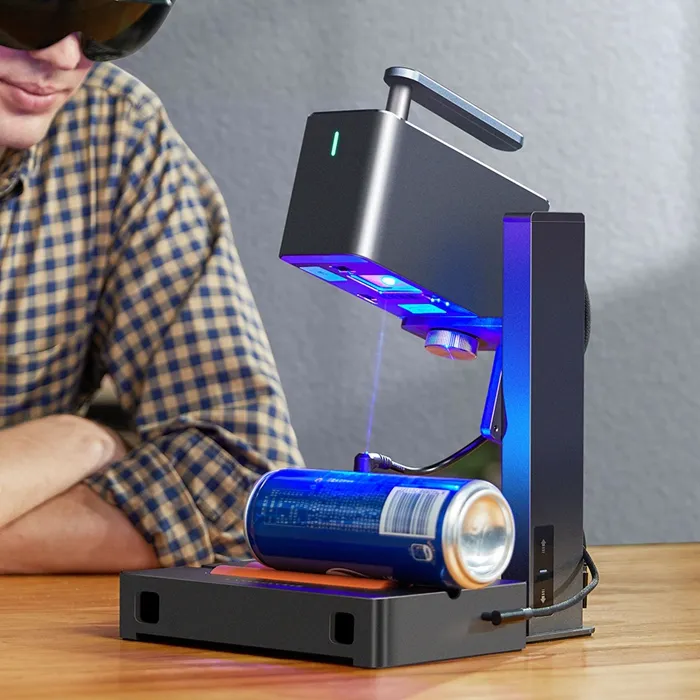
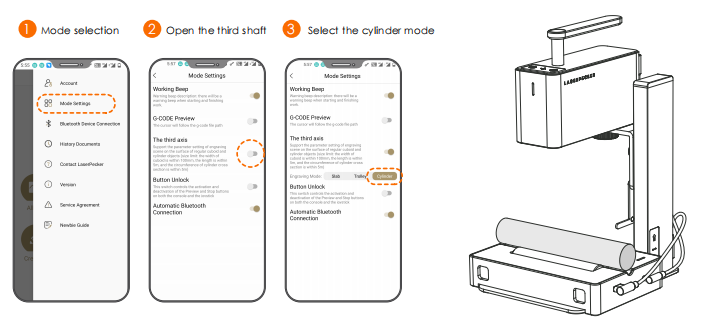
 Cylindrical mode:
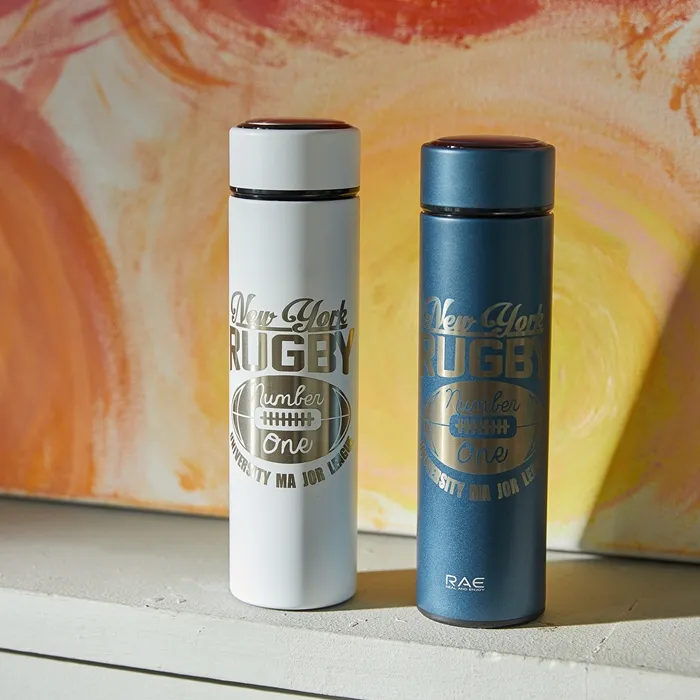
Choose Cylindrical Mode on APP. Put cylindrical object on the roller. If the surface of the material is sleek, please tie 2 silicone coils on both ends of the object to make it stabilized. Use the L shaped measuring plate to make sure the focal length 110mm and get ready for engraving.
(Max engraving area: 100mm*100mm)

LaserPecker 2 Rotary Specification:
1. Circular rotating engraving at 1.360 degrees,The 360° rotating engraving capability of LaserPecker2 extends to curved or uneven surfaces as well as cylindrical objects. LaserPecler 2 is a one-stop shop.
2. Maximum Engraving Area: 100x2000mm, The LaserPecker 2 Auxiliary Booster increases the maximum engraving size to 100*2000mm, allowing you to easily engrave objects up to two meters in size.
3. Features and Benefits of the LaserPecker 2 Versatile Electrical Roller, By using an electrical versatile roller, also known as a Laserpecker 2 Third Axis, you can expand your options and increase your enjoyment.
4.You can use three additional engraving modes, namely Slab Mode, Cylindrical Mode, and Trolly Mode, when you connect the LaserPecker 2 to an electrical versatile roller. When in Slab and Mode and Trolly, the engraving area can range from 100mm*100mm (the standard size) to 2,000mm–5,000mm. When in Cylindrical Mode, you can also easily engrave on cylindrical objects.
AKA: the auxiliary booster, The third axis
18.6 cm*12.7 cm*3.7 cm
Dark gray in color
Aluminum that has been anodized
1.60 kilograms
5V/2A input powe
LaserPecker 2 Rotary Package:
| Electrical roller*1 | Mounting bracket*1 | Sliding magnetic block *2 | Type-C cable*1 |
| Silicone bands*8 |