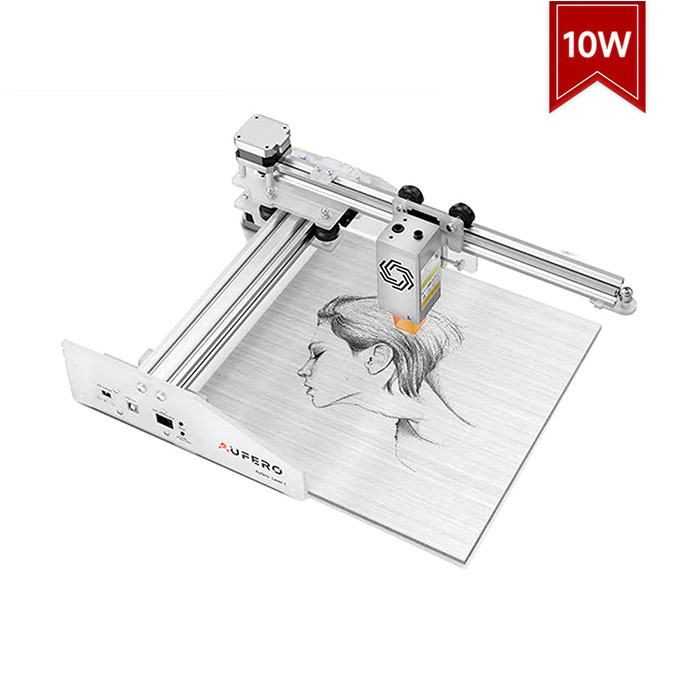
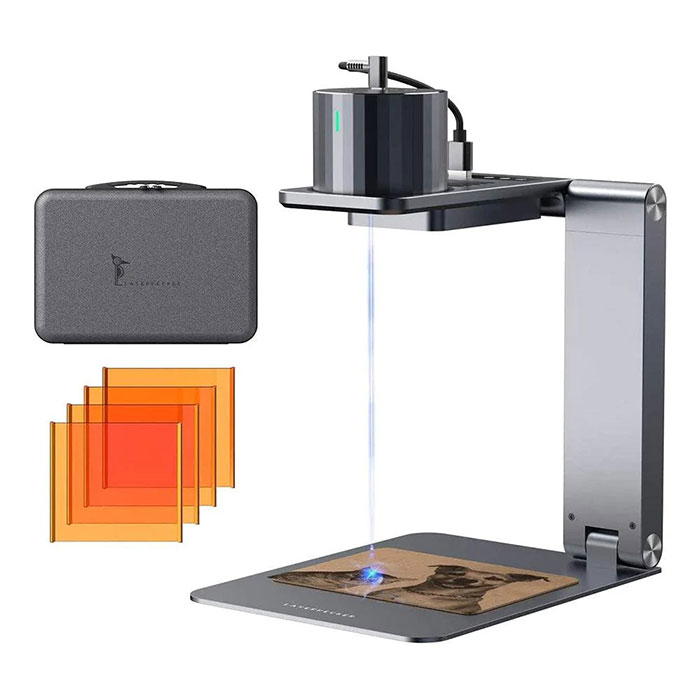
I am making some creative lights out of 10 mm thick clear acrylic. They need to be cut and polished and engraved using a laser engraver. Unfortunately, this is not always an easy combination. I quickly realized that there is a lot of confusing and sometimes conflicting information about how best to achieve the best results. HTPOW has summarized some suggestions to help you get started.
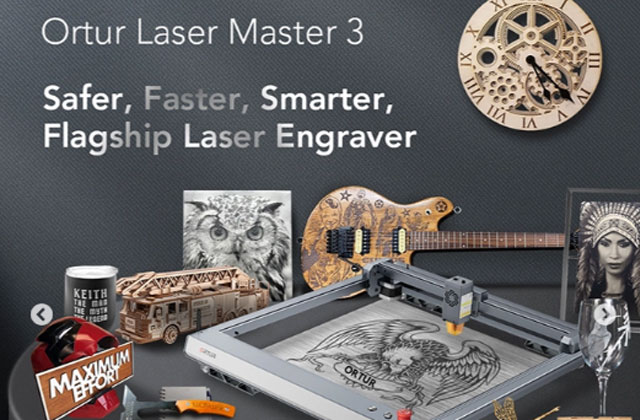
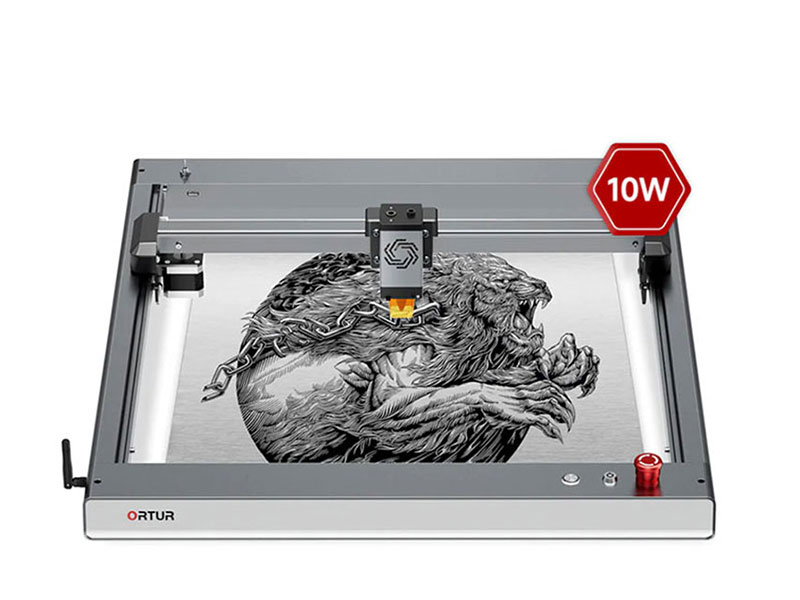
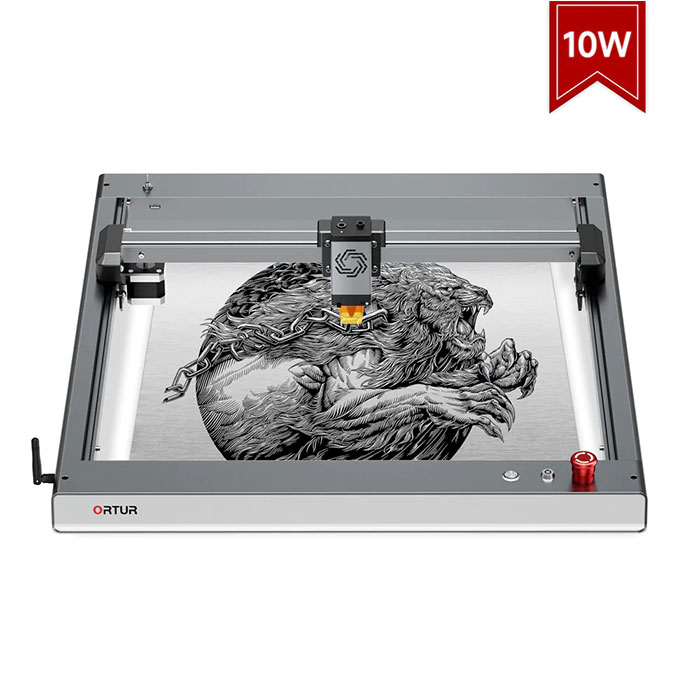
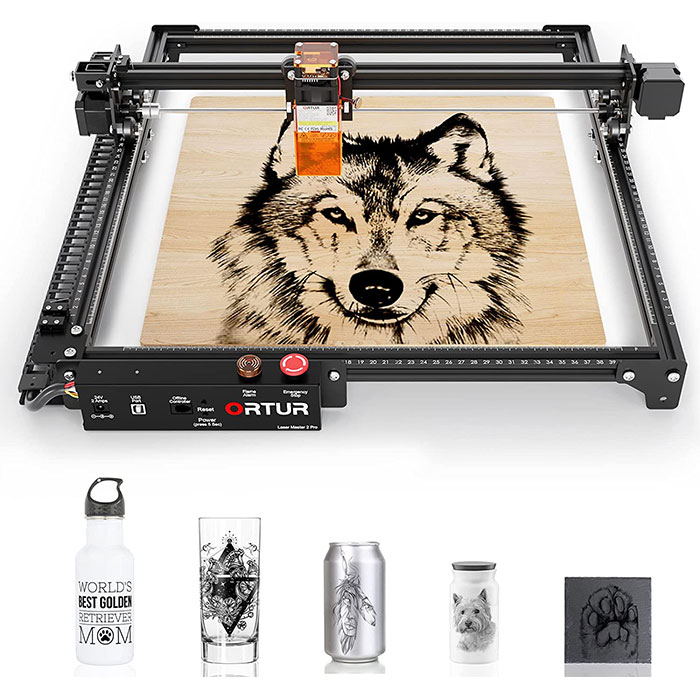
So, let's understand how to laser cut acrylic? To get polished results on cut acrylic and what type of acrylic to use, I use the Ortur Laser Master 3 running at high power, low speed (4 to 8mm/s) and with air assist at a low level to reduce the temperature in the cut.
Many users do not realize that there are two forms of acrylic, and even though they have the same chemical formula, they react differently to the laser beam.
The Topics Covered in This Article Are Shown Below for Easy Reference.
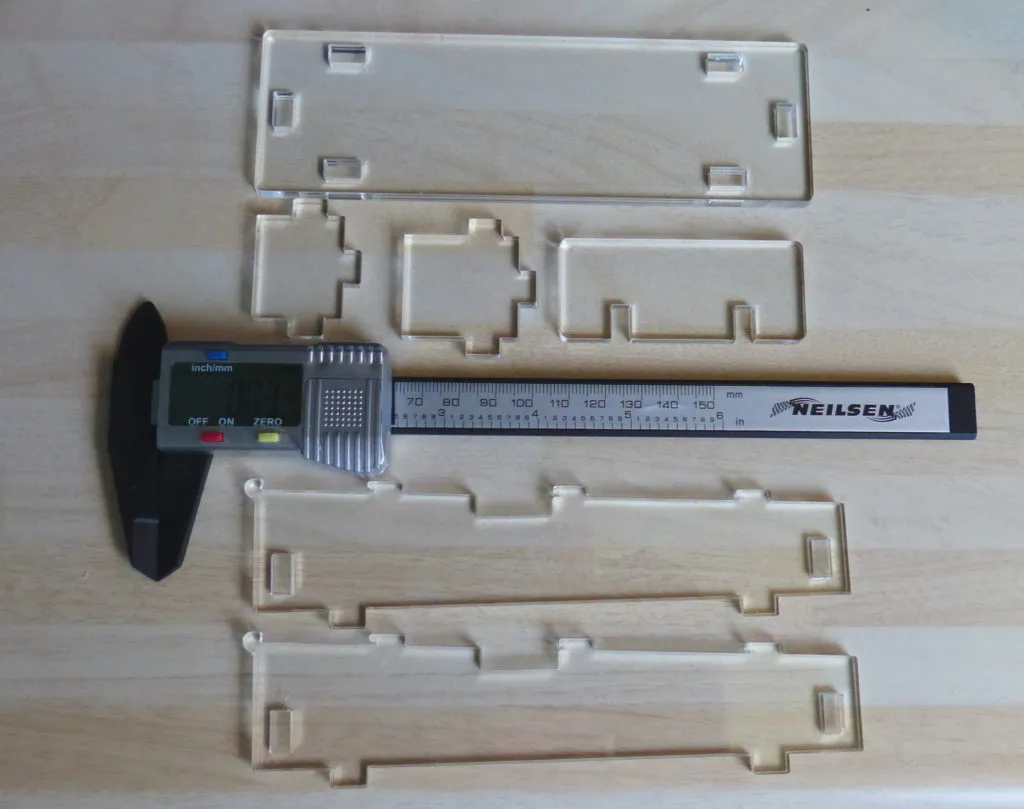
- How to laser cut acrylic: Images of laser cut clear acrylic components
- Laser cut clear acrylic components
- How to laser cut acrylic: Casting and extrusion
- Acrylic is one of the most popular materials for laser cutting. Unlike most materials, acrylic sublimates (goes directly from a liquid to a gas) and does not carbonize like other plastics.
Sheet cast acrylic is made by mixing liquid acrylic between two glass plates and is considered to be a higher quality product. A disadvantage of this process is that the sheet thickness can vary considerably (up to 0.5 mm) in the sheet length unless you purchase high tolerance sheets. A quick way to determine if you are using cast acrylic is to have the manufacturer's brand or logo printed on one or both of the protective films.
Extruded acrylic in sheet form is made by pushing a large amount of acrylic through the molding opening. This method results in a sheet that is very uniform in thickness along its entire length. Typically, extruded acrylic is unbranded.
How durable are laser cut acrylic parts? Acrylic is a hard but fragile material. It is suitable for fixed applications such as covers or light applications such as positioning fixtures and prototypes. Applications with moving parts or external stress/vibration may be best built with LightBurn.
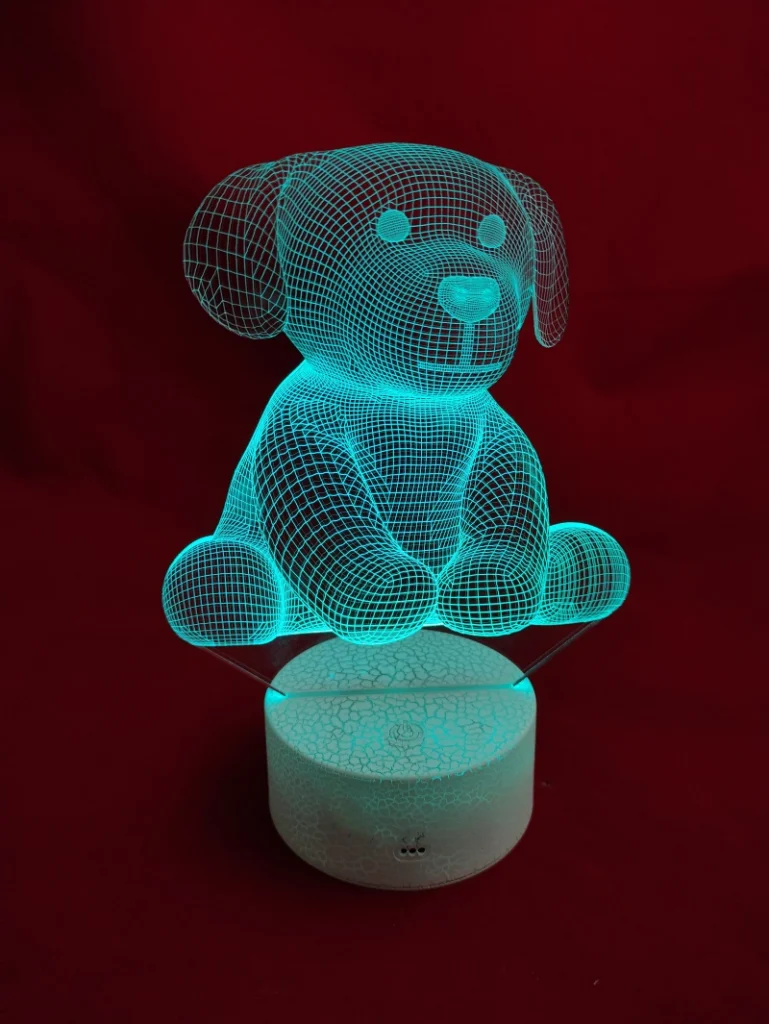
Laser Engraved And Cut Acrylic Heart-Shaped Led Lights
Is laserpecker 2 cut acrylic suitable for high volume production? Unfortunately, the answer is "it depends". It depends on the product and the application. While you can laser cut multiple parts from a single large sheet on a large flatbed laser machine, manual handling is required to remove the parts. In some cases, the manual process can take as long as the actual laser cutting. If you do need to mass produce laser cut acrylic parts, it is worth taking the time to develop a streamlined process that maximizes laser cutting and minimizes product handling.
Two Manufacturing Methods to Consider When Cutting Any Type of Acrylic.
General Part Cutting
- General part cutting: This type of laser cutting is suitable for situations where the part does not require surface treatment and aesthetics are not that important. In this case, you want to run at maximum power and maximum speed, and you can easily laser cut acrylic.
- Unlike most plastic or organic materials, acrylic cuts better with low air assist. This is due to the fact that air assist cools the cutting position and reduces the efficiency of the laser beam.
- Be careful not to over reduce air assist as it can cause the lens to fog up. Due to the reduced airflow, debris is able to enter the nozzle.
- Low air assist levels can also cause burning when the laser beam ignites the concentrated acrylic vapor.
- What types of acrylic are best suited for laser cutting? Extruded acrylic is the best choice for laser cutting because the thickness is more consistent. This means that if you need to assemble the parts together, they will be easier to assemble. Cast acrylic can vary by +/- 0.5 mm across the sheet, which means the assembled parts may be too loose or not fit at all.
Demo Parts
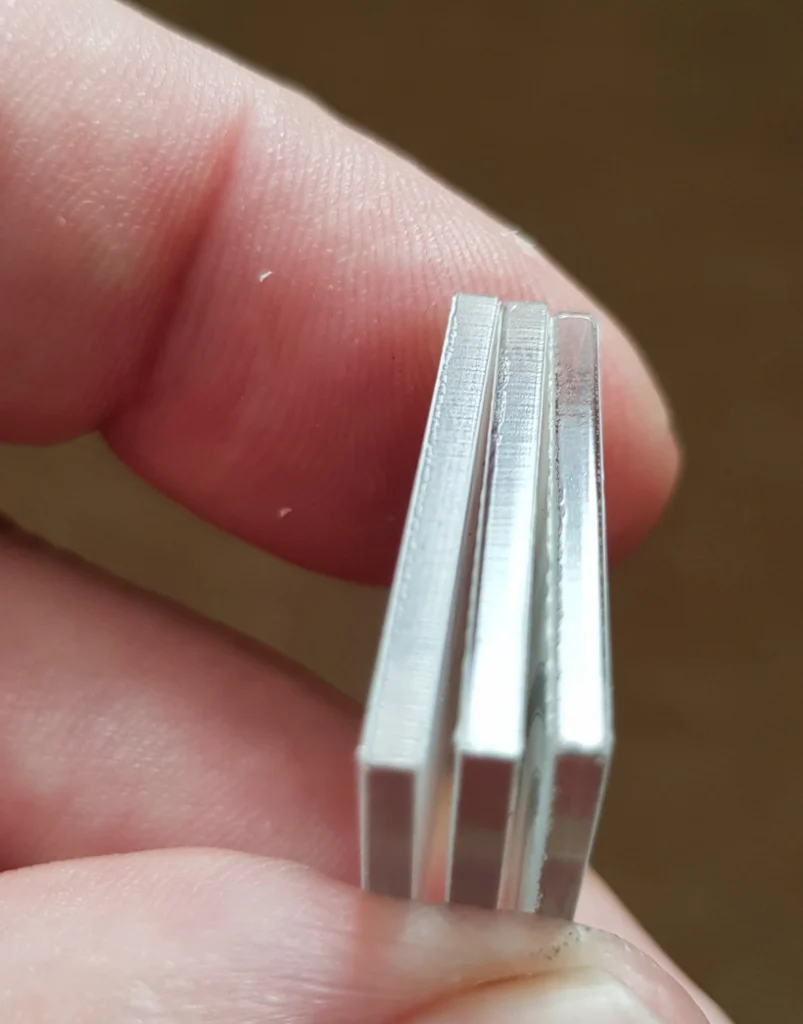
Presentation parts: These parts usually require polished edges. Cutting extruded acrylic will give better results compared to cast acrylic, but both follow the same principles.
The key to polishing the edge finish is to apply enough heat to the acrylic surface around the cutout. This heat is enough to partially melt the acrylic surface, which then solidifies into a glassy finish. In effect, it smoothes out any creases or streaks caused by the laser beam.
You need to run at high power and low speed and use the longest focal length lens you have, which will consistently cut the acrylic.
A lens with a long focal length has a larger beam diameter and the outer edge of the beam is hot enough to melt but not vaporize the acrylic.
Some people believe that streaks in the cut are caused by teeth in the stepper motor or the belt that controls the X and Y axes. Improper system setup can exacerbate this effect, which is usually caused by the vaporization zone of the laser beam eating away at the acrylic as it moves along the kerf. Examination of the kerf under a microscope shows that the kerf edges are actually scalloped and the peaks show up as streaks.
Using a Stand
The choice of stand depends on you, if you are using a honeycomb bed then ball bearings work well. a T-cut also works well as the upright part of the T slides into the honeycomb and the top of the T sits proudly. If you have a flat metal bed, then dome nuts are a great solution; they will sit flat on the bed with only the tip of the dome in contact with the sheet.
Of course, you can use simple spacers, just make sure they are not in the cutting path. When using a stand, the reflected beam becomes so defocused when it reaches the bottom of the acrylic that there is not enough energy to mark it. Depending on the job, you may decide to keep the protective film as a sacrificial barrier.
Laser Engraved Acrylic: Casting And Extrusion
Both cast and extruded acrylics can be engraved. However, extruded acrylic will give a soft gray finish, while cast acrylic will give a frosted white finish and is preferred for engraving. This is especially true if the engraved acrylic is used for sidelight applications.
It is best to keep a protective film when engraving, as this prevents acrylic fumes from being deposited onto the acrylic surface. However, if you are doing some complex work, it can be very difficult and time consuming to remove all the small pieces of protective film that remain.
Laser Engraved Acrylic: Line Engraving
Line engraving is a process in which the laser marks only the surface of the acrylic, leaving frosted lines. As mentioned above, this process is best suited for cast acrylic.
- Laser Engraving Acrylic - Wire Engraving
- Engraving with Laser Lines - Clear Cast Acrylic
- Laser engraved acrylic: Raster engraving
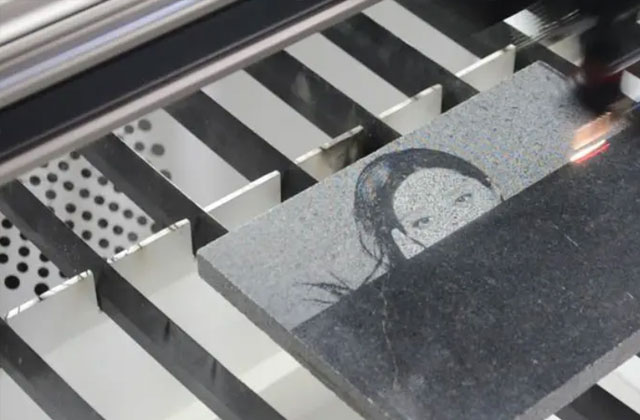
- Lenticular engraving is the process of laser engraving an image line by line, similar to the way an inkjet printer prints an image. Only a line is scribed on the surface of the acrylic, leaving a frosted line behind. As mentioned above, this process is best suited for cast acrylic.
Typical Setup for Raster Engraving Acrylic
- Laser photo duplication engraving on clear cast acrylic
- Laser photo duplication engraving of PUG onto clear acrylic
- What is sidelight acrylic signage?
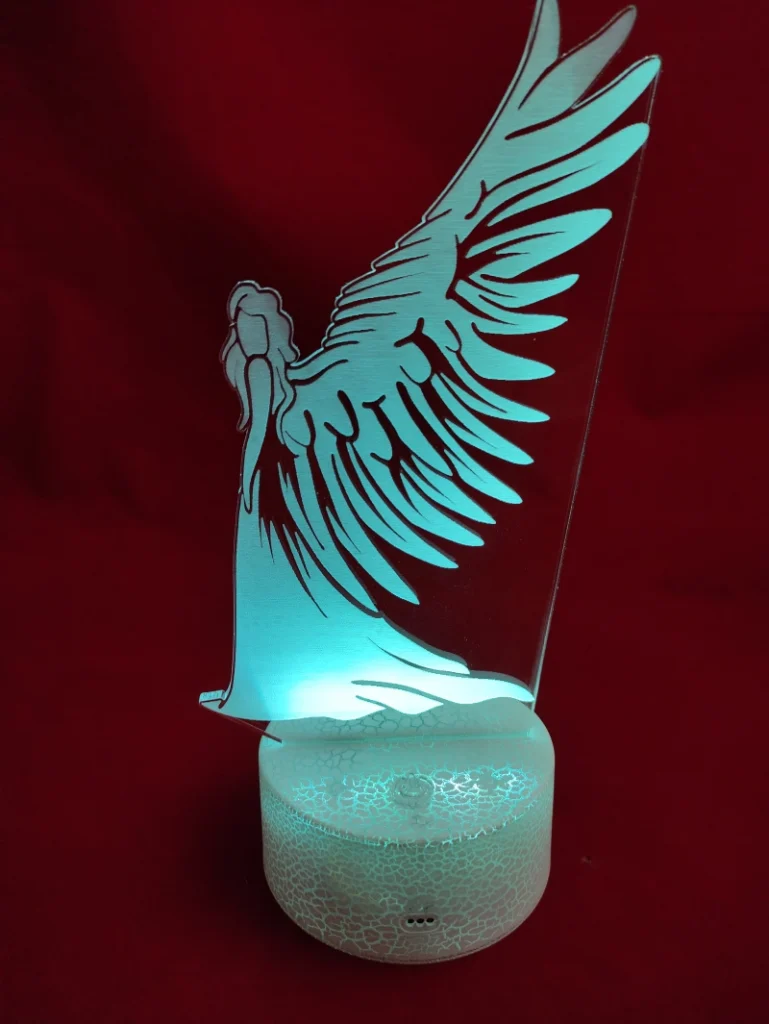
- So, what is a sidelight acrylic sign? Sidelight acrylic signs are made of clear cast acrylic with an image laser engraved on the back. The light emitted by the LEDs can be monochromatic or even multicolor, making the engraved part glow. Unengraved acrylic is unaffected by the light.
Can You Laser Cut Acrylic? : Is It Safe?
So, is it safe to cut acrylic with a laser? When cutting any plastic, you need to make sure that you sufficiently pump the air to remove the fumes generated during the laser cutting and engraving process. While acrylic fumes (MMA/PMMA) are not considered as toxic as some of the substances released by plastics such as ABS or PVC (avoid both). they still pose a health risk when breathed in at high concentrations.
Setting the air assist too low can cause sudden combustion or comet tails to form at the nozzle. This happens because the acrylic fumes are not removed quickly enough and the laser beam ignites the fumes. It looks spectacular, but as the heat source (laser beam) is removed, the flame will extinguish itself. Having proper cross-flow of air over the paper can further reduce the risk.
How to Laser Cut Acrylic: Keep The Surface Clean.
The Best Solution is Prevention.
- Clean with a lens wipe to ensure that all static electricity has been removed from the material surface.
- Optimize airflow over the top and bottom surfaces. This causes fumes to be removed quickly from the work area.
- If there is debris, I would wipe the surface with a moist Magic Sponge.
- Be very careful with any solvent used as it can affect the acrylic surface.

